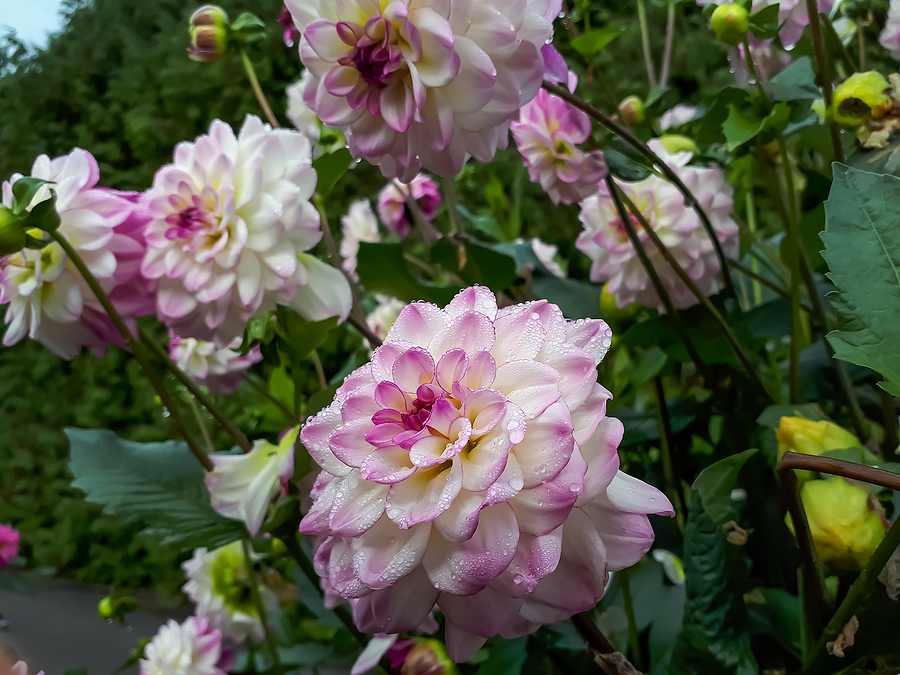

Spring-planted bulbs can give more dramatic garden color this very season!
Tuck these ‘Annual-Bulbs’ in among your perennials this spring to create fuller looking beds all summer, or, create focal points with clusters of these ‘Annual Bulbs’ added rhythmically throughout your home landscaping.
Many ‘Annual-Bulbs’ can do quite well in containers; so, use these to liven up your porches or deck all summer and into fall. Even if you have plenty of space in your garden, having a few containers of these beautiful blooms can provide a bright and welcoming touch to your home landscape.
Spring planted ‘Annual Bulbs’ can also be used to great effect mixed in with other annual plantings. Be sure to plant extra, because these Summer and Fall Blooming ‘Bulbs’ will also provide beautiful cut-flower bouquets for gifts and for your home.


These ‘bulbs’ are typically not winter hardy and should be treated much like annuals.
Many of these bulbs can be lifted out of the ground just after the first light frost, to be stored in dark, relatively dry and cool, but not freezing, storage. Dahlias and Canna Lilies are two popular lifted and winter stored bulbs to try. Even if some may not make it in overwinter storage, many gardeners have been successfully replanting generations of Dahlias and Cannas for beautifully returning blooms every spring!
Before you can plant your bulbs, you should prepare the soil. First, remove any weeds and rocks from the area. Then, loosen the soil and add a layer of organic matter. This will help keep the soil moist and provide nutrients for the bulbs. You can add fertilizer to the soil at this time; read instructions for any soil amendments.
When planting your bulbs, the most important thing to remember is to make sure the roots are facing down and covered with soil. Check the instructions on the package for planting depth. Aim to plant bulbs in groups, as this will create a more dramatic effect when they bloom.
If you don’t have instructions, make sure to dig a hole that is almost 3X as deep as the height of the bulb. After you have planted your bulbs, fill in the hole with soil and lightly pat it down to ensure good contact between the bulb and the soil. Water your bulbs to ensure you are giving them enough moisture for roots to start growing and sprouting leaves.
When you are deciding where to plant your spring bulbs, consider the amount of sunlight they will receive and choose an area that is well-draining. Many annual bulbs prefer full sun, a few like partial shade (look up particular plants to find out their preferences.) You should avoid areas that have standing water, as this can cause bulbs to rot.
Planting seasonal bulbs is a great way to add bursts of color to your garden, to extend blooming times, and to compliment your other landscape plantings.
For more advice on how to improve your landscape or for information about our all-inclusive professional landscaping service plans, contact us at Twin Oaks Landscape today.